Custom Thermoforming Mold Design and Tooling
When it comes to custom plastics, your design and the thermoforming mold we create are deeply interconnected. Explore how our design process works, from first steps to machining your mold.
Getting Started with Your Design Concept
We’ll meet you where you are, whatever resources you already have behind your design. From project to project, we’ve started from a wide range of initial designs, including:
- Written specifications
- 3D model
- Professional sketches
- Sample parts
- Tooling from another supplier
- Doodle on a napkin
- Just an idea
Whether you already know what you want and have exact specs to request, or you need guidance getting an idea onto paper, we can help.
Creating a 3D Model of Your Design
When starting with an idea in its early stages — such as a napkin drawing of the part you need — our first step is to collect information from you about the part:
- How it needs to fit
- Clearance needed for other parts
- How it’s mounted
- Critical dimensions
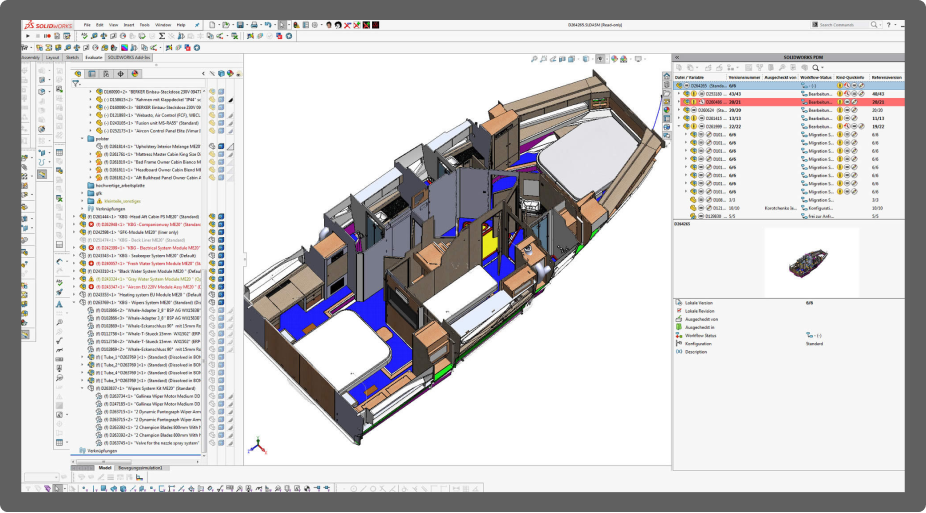
We use this information to draw your concept in Solidworks, our 3D modeling software.

Making Modifications to the Mold Design
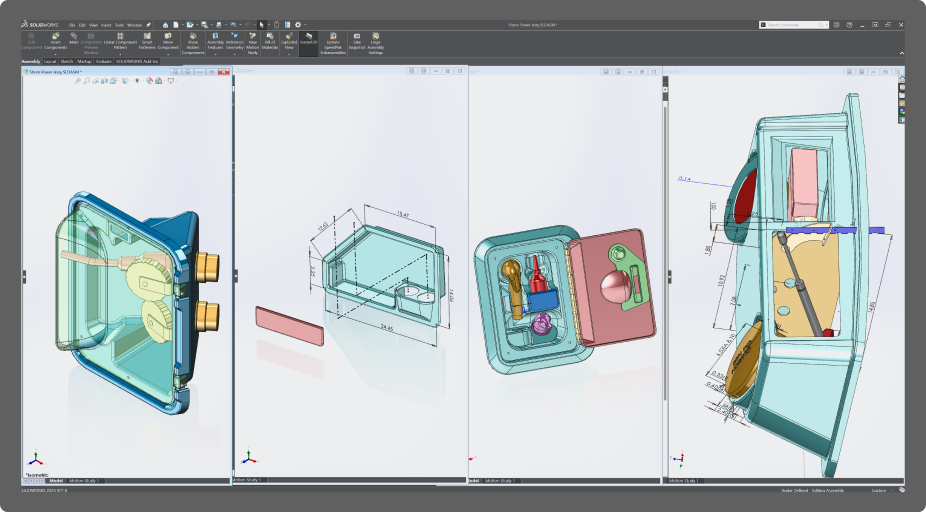
With a finalized 3D model, we can create an “inner shell” or inverse model of the part’s geometry. This is what we’ll modify to create the final mold.
During the 3D model and “shell” stages, we may need to make modifications to the original design to make manufacturing feasible. It’s critical to remember that your part starts the thermoforming process as a flat sheet of plastic. When this is heated and stretched over the mold, the material will naturally thin. We can work against thinning to a certain extent by choosing a sheet that is thicker than the final product needs to be (scale factor), but draft angle and radii are also critical.
The greater the positive draft and the greater the radius, the more likely it is that your part will have uniform thickness. This will also help ensure a clean separation from the mold and alleviate potential forming defects. We may suggest adding and/or increasing draft angle and radii to facilitate thermoforming.
Thermoforming Mold Machining and Tooling
When the final mold design is complete, we create a CNC milling program using our PowerMill software. This enables us to set custom toolpaths to machine even complex mold designs.
From machining, the mold moves to the tooling department for final assembly. We also build a vacuum and/or pressure box, which is what allows your part to form over the milled mold.
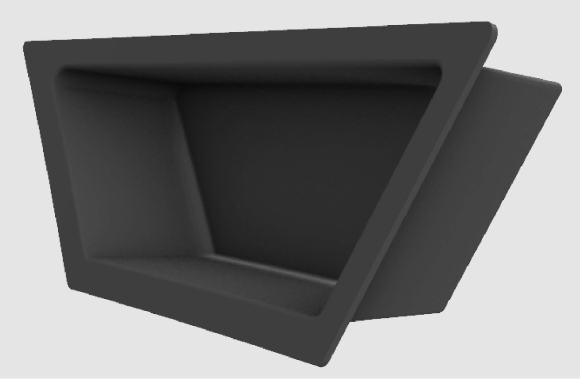
Prototype Review
Once thermoforming of your prototype part is complete, we’ll cut it out by hand according to the design specs and send it over for your review and approval. If all looks good, we can begin setting up the production process. If the prototype doesn’t look perfect, our engineering department will work with you to make the necessary adjustments.
Ready to Talk About Custom Designs?
Whatever your starting point is, we can help. Whether you have a simple napkin sketch or a fully-produced 3D model, we can partner with you to perfect your design. Let us know what you’re looking for, and we’ll get back to you on your design within 1 business day.
REQUEST A QUOTE